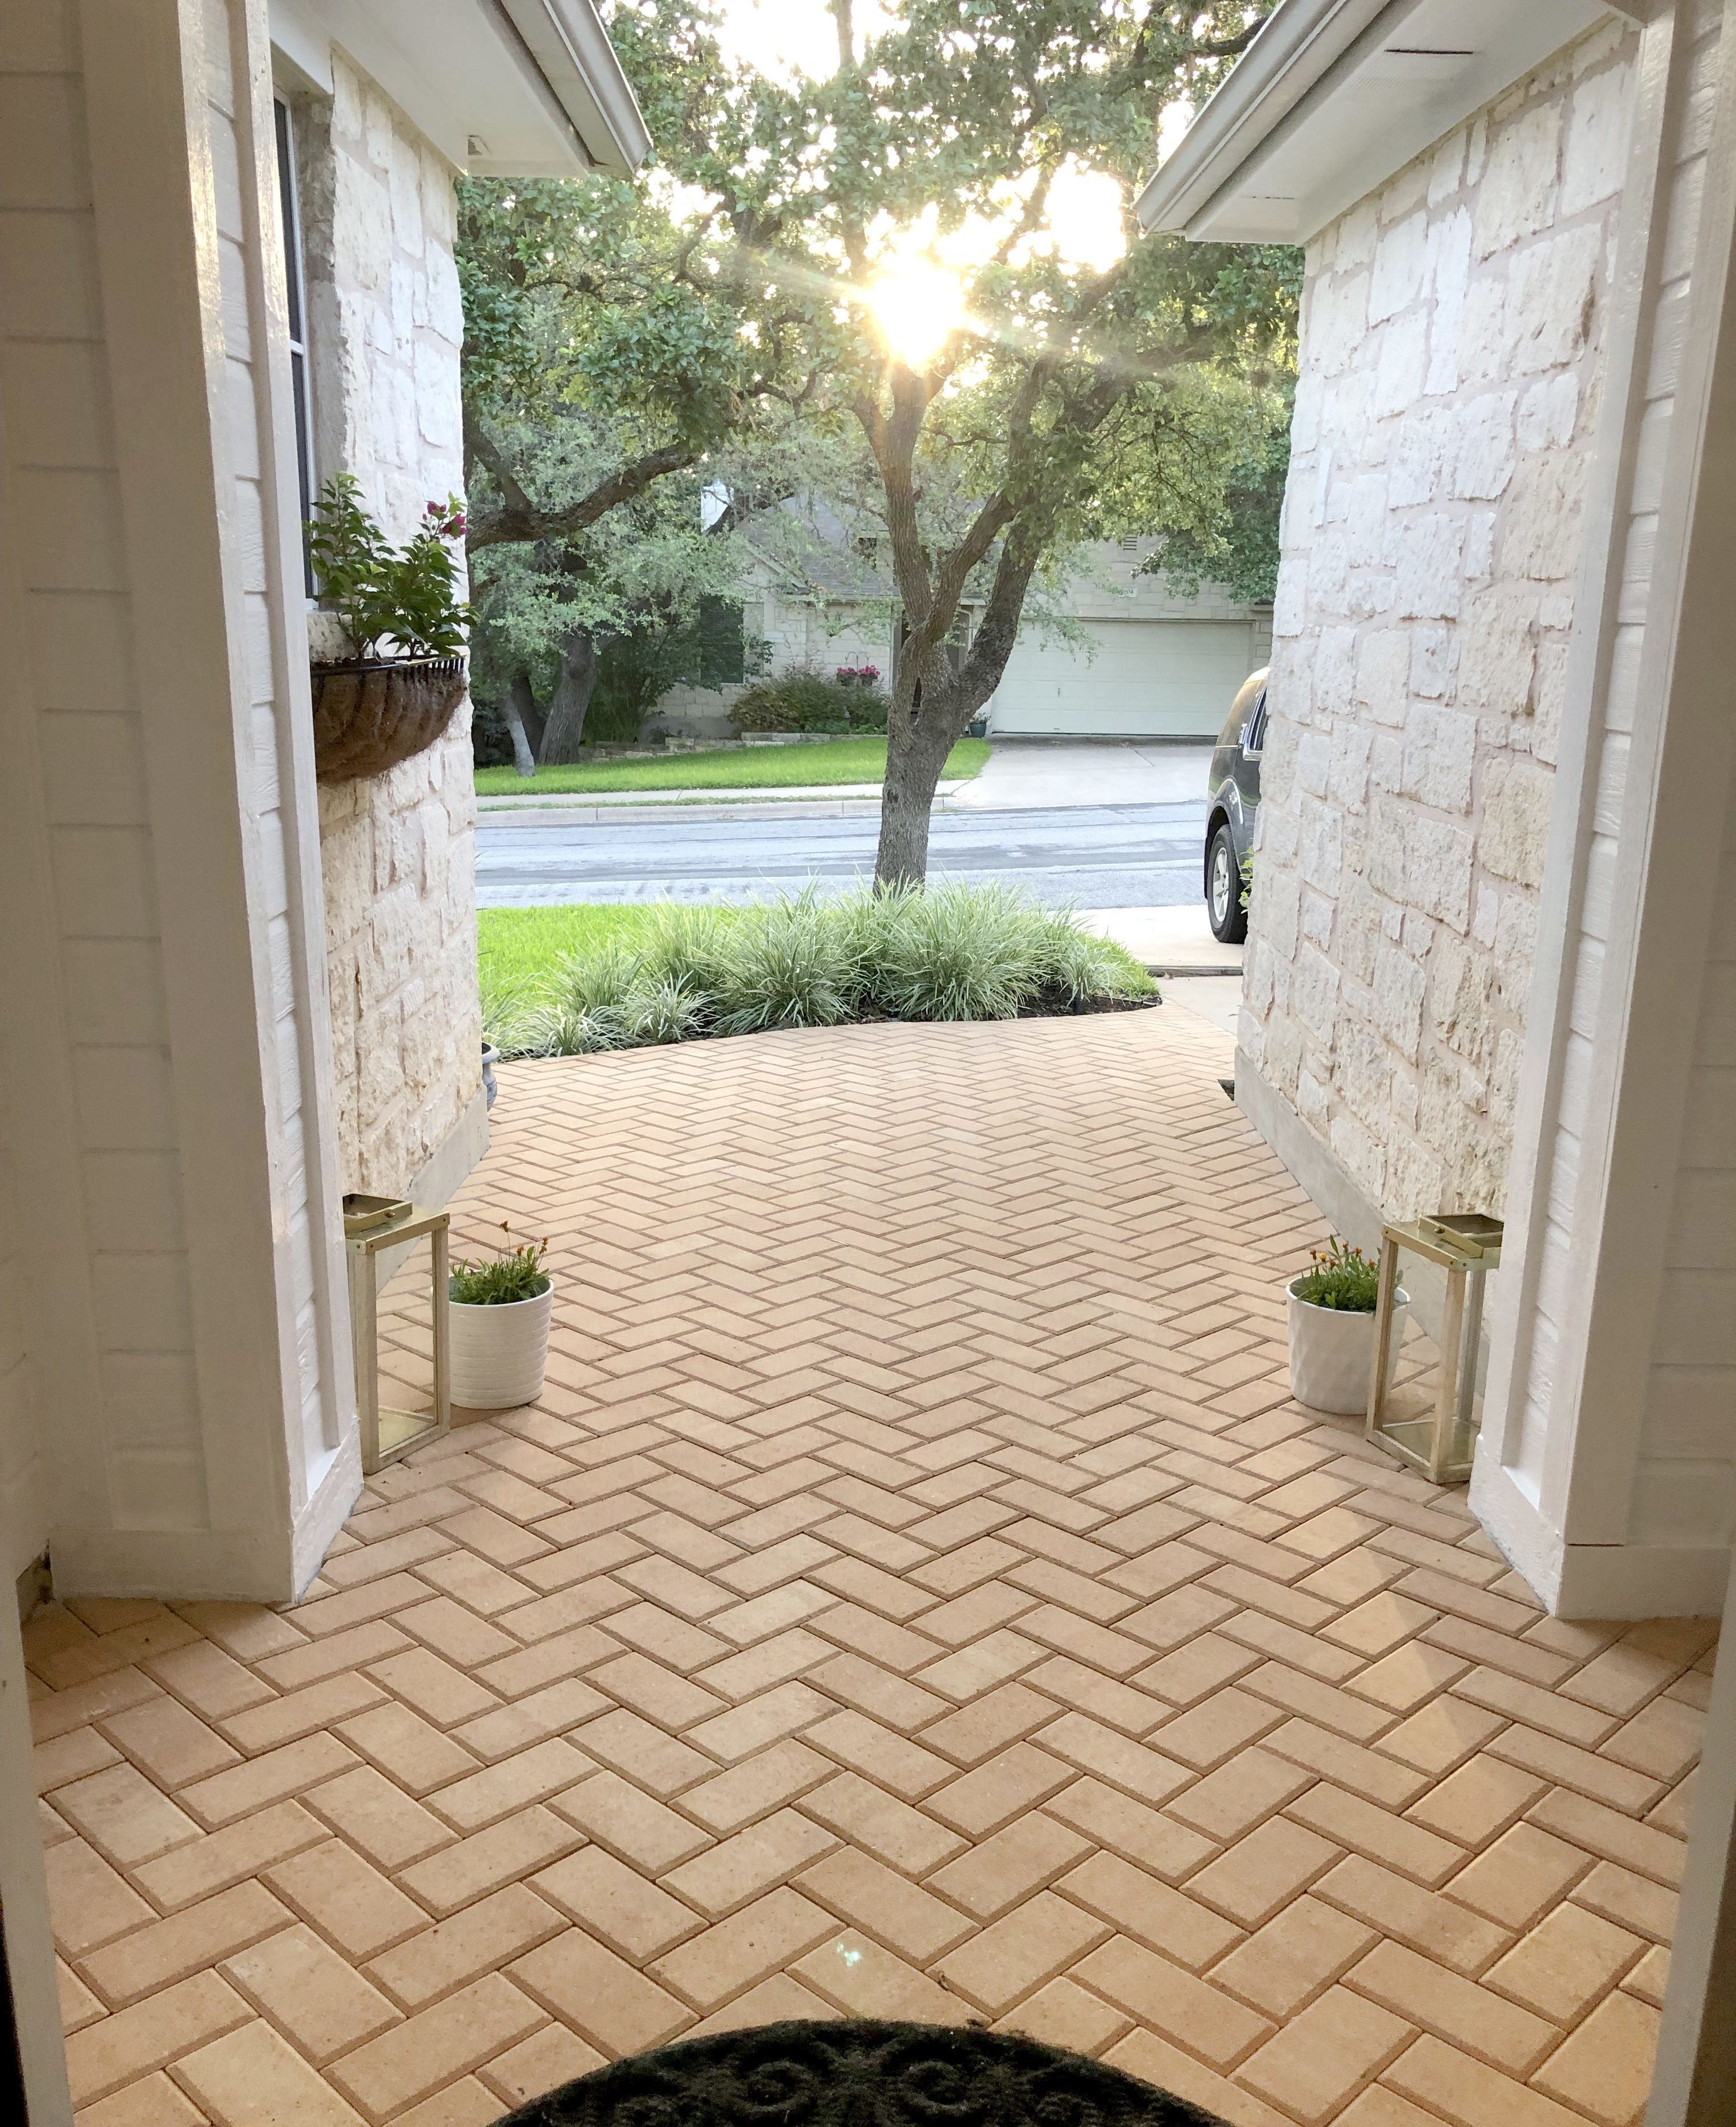
If you are anything like me and you love a dramatic and beautiful entryway leading up to a mind blowing double wide doorway. You’ve seen them on Pinterest, they are spectacular. That’s what I have always dreamed of for this house and what I have been slowly working towards. We have been updating our house little by little, first we worked on our Backyard Patio area, click on the link to see that change. Now we are working on the front of the house; a big first step to achieving a stunning entryway, is a pavers walkway to our front door. With lots of dramatic effect, we were able to turn a dull and uneven walk way into something very elegant. Check out our before and after pictures and then see how we made it happen.
Out with the old…
We took this picture for our Back to School photoshoot last year, specifically for our After School Routine post. You can see the entryway was less than glam. So we made the decision to update using pavers
I love everything about pavers- their durability, their style..it all just so unique. Once I found the perfect color pavers, we went to work; first removing the old pavers and then laying out and even foundation by pouring cement.
“before”
We all got to work, everyone got their hands dirty, removing bricks, & carrying them to our backyard for repurposing.
Once all the old bricks were removed, we placed wood boards on the perimeter of our new walkway, in the new shaped we desired. This allows us to pour the cement in the middle, as the cement is spread it will take the form that we have established with the wood boards.
With the cement foundation all poured out and set, we went to work on the pavers…
Here is the step by step instruction on How to install cement pavers in your entryway.
We began by measuring and establishing the middle of the doorway. Once that was established we marked the spot.
Our next move was to nail down 1 in. x 2 in. x 8 ft. Furring Strip Board to the ground.
Angles are really important. A Swanson Tool in Orange Composite is also
Double check that angles. Once that is established, you are ready to start laying down paver bricks.
Make sure your first paver lines up with the angles you have drawn. Pour a small amount of mortar on the floor and with a rubber mallet slowly tap on the paver & guide them into place.
Pour the mortar in the middle and scrape off any excess before it dries. When the mortar dries, it can obstruct the placing of other paver bricks around it. If you want even lines, the pavers have to be equally spaced.
I chose to lay my brick paver in a Herringbone pattern. Because I love the classy looks it gives.
Shop for supplies and tools, with my affiliate links. I make a small commission at no extra cost to you! thanks for supporting Glammed Events !


Absolutely beautiful workmanship. My love to you all.
You did a wonderful job. I am comfortd by the fact tht you made it seem like a aproject anyone could do if they took the time.
This is such a beautiful transformation! I love it! We have a funky shaped side walk up to our door that is tucked in – I am not a big fan of it and I don’t know how to redesign it! I need an eye like yours! This is stunning!
You’ve done a great job, you’re entry way is beautiful! Love that the kiddies got to help too!