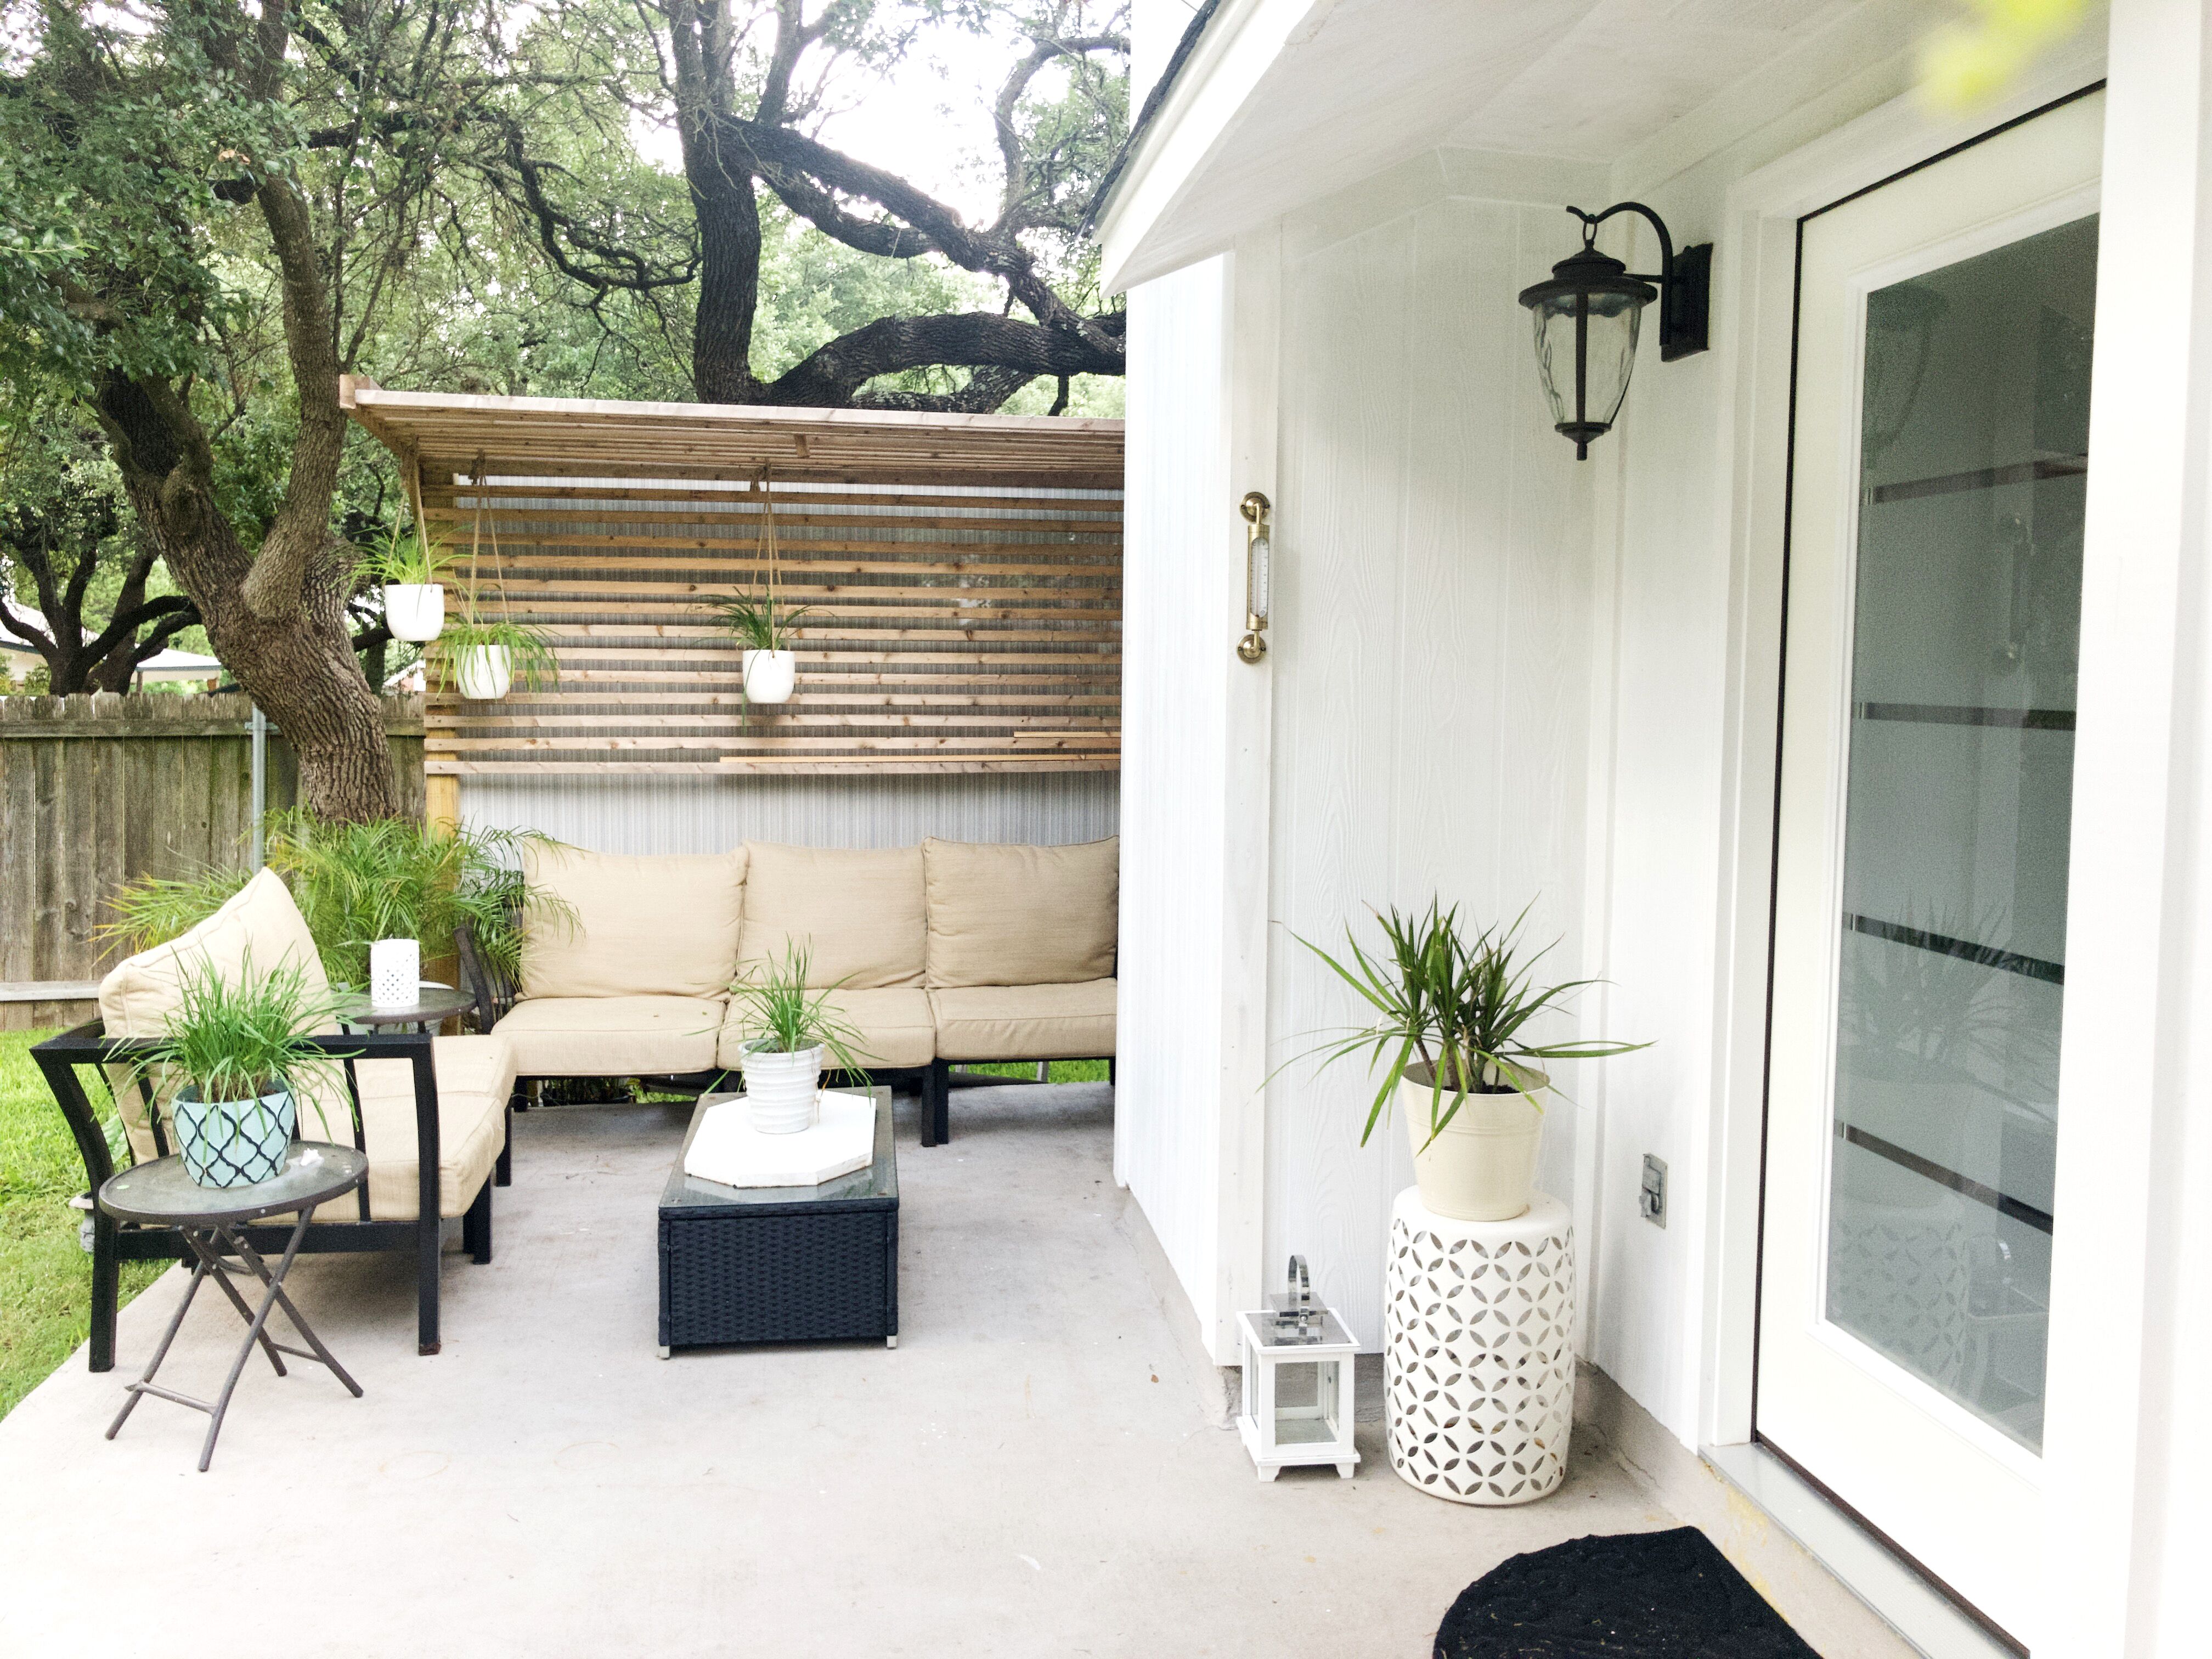
We have been working on updating our backyard patio area in order to bring in big changes to this space. Before we began working on the aesthetics, we wanted to make sure that the “bones” or the structure of this outdoor space was updated. Come on and check out: How to replace outdoor trim & molding.
Affiliate links used. See full disclosure HERE.

S H O P T H I S L O O K
Before our house was beautifully updated and painted, the trim was all broken and the house was painted in a beige, yellowish tone white? I am not even sure how to describe the color, but it was not to my liking at all. So we set out to update our backyard patio area a little bit.
REMOVING THE OLD TRIM
The First thing we did was to remove all of the trim of off the walls and from the windows. Using a crow bar and a hammer, we carefully removed every board and replaced them with cedar boards -which will be longer lasting for the outdoor elements.
- click on the images for affiliate links. I make a small commission out of each sale at No addition cost to you. See Disclosure Policy page for more details
Removing the board revealed some water damage around our fire place, which had cause some Carpenter Ants to move in…so our project got a little more complicated that we had originally imagined. After we fumigated and dealt with the ants we removed all damaged boards and fixed the damage. Then we covered it with some caulk and paint and it was good as new.
One thing that I have learned from all this -is that sometimes we will have unexpected repairs, that might consume the budget for others things ( like cute outdoor decor), however, the peace of mind of knowing that you home is repaired and good as new is truly priceless. Mindset is everything- and we were very grateful to have caught this when we did.
BEFORE
AFTER
Related Posts
LETS CONNECT:
SIGN UP FOR NEWSLETTER:


Leave A Comment